See the following pictures to view the process.

Here is the half log ready to be cut into a circle.

The bowl blank is mounted on the lathe and ready to be turned.
I am now ready to “rough out the outside of the bowl.

The blank starting to round up but there is still bark left to be removed.

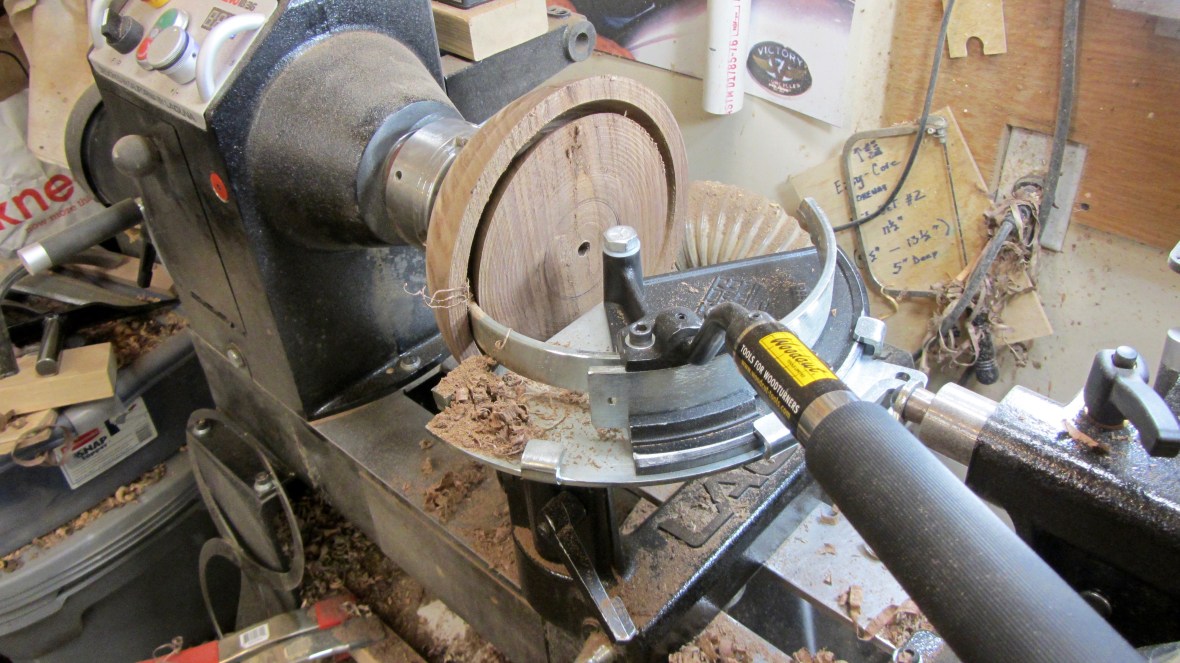
Here the bowl is round and I have put an “Inside Expand” recess to be used when the bowl is turned around to do the inside.
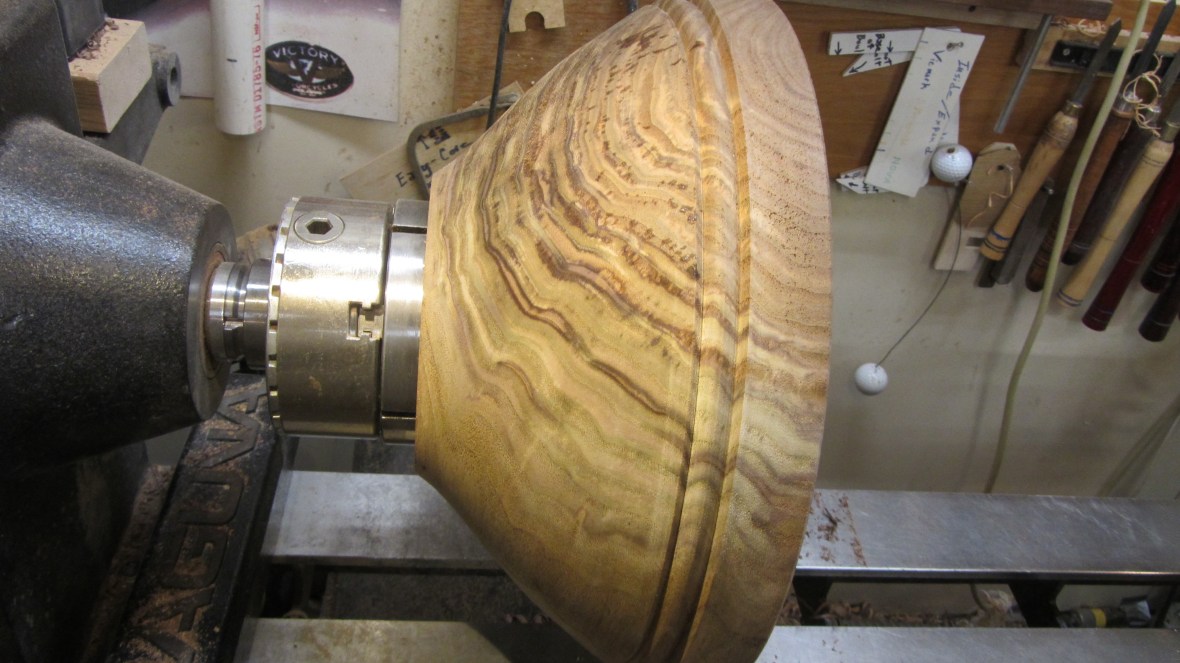
The bowl is now held firmly in the chuck. Note the bead and collar added to the rim area.
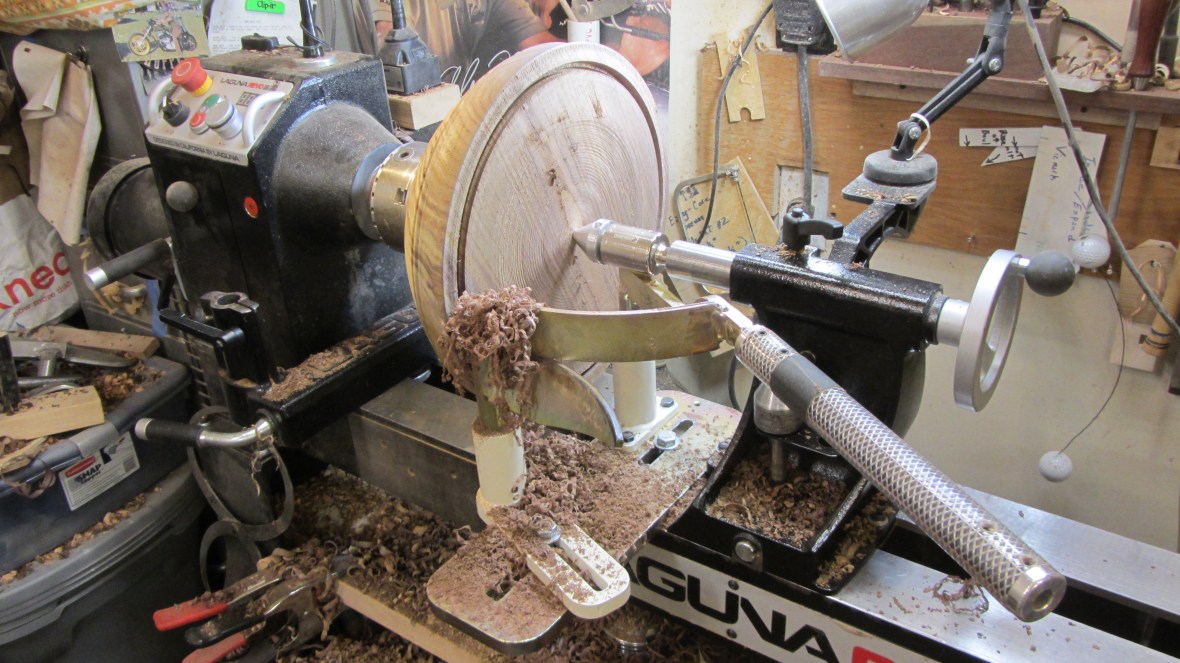
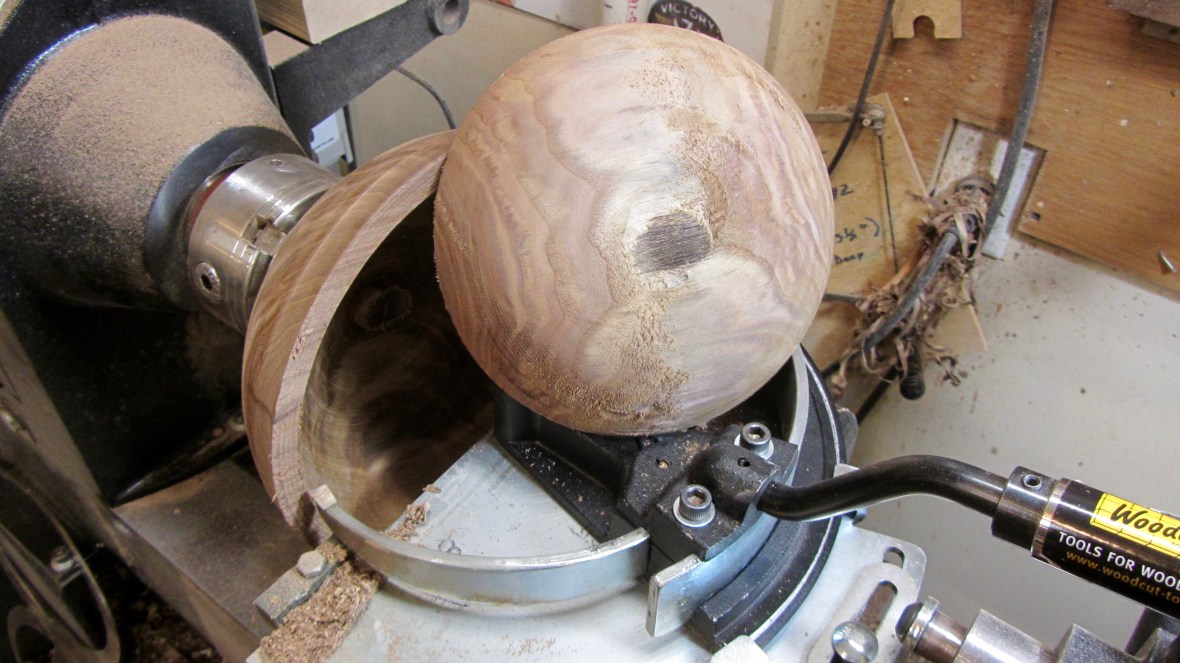
Rather than just making chips out of the entire interior, I will take a “Core” out of the inside. This will make another large bowl later.

The “Core” has be released from the inside of our “Mother” and another bowl is born.
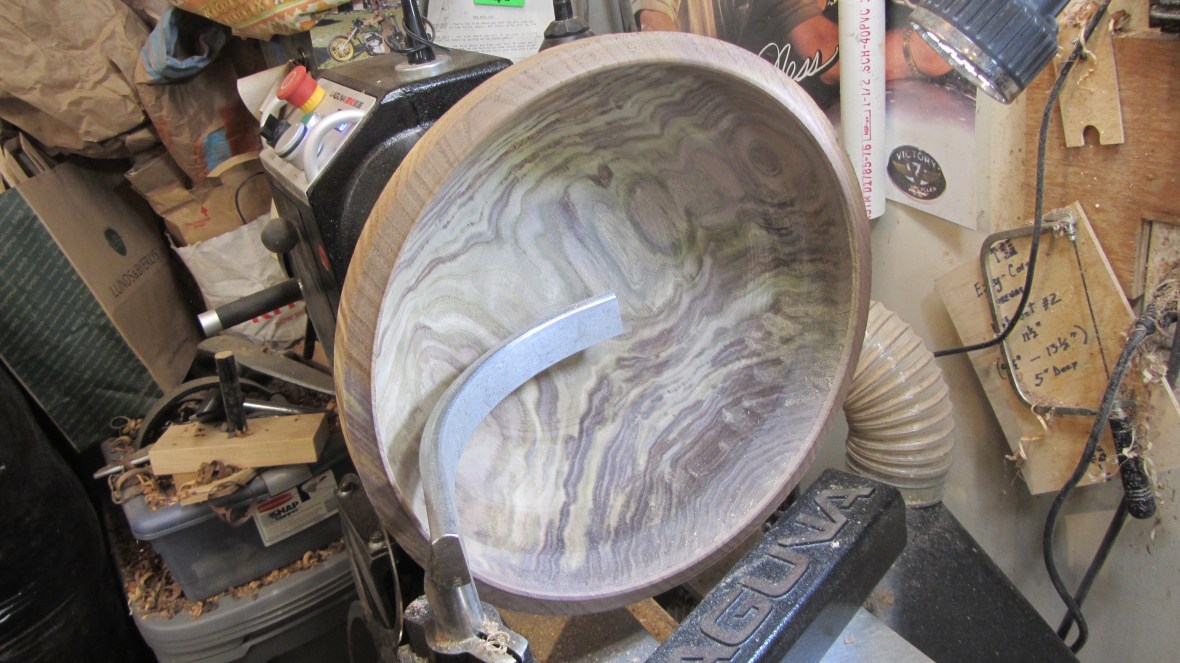
Now we finish shaping the bowl’s interior and sand the inside and outside. Then we will apply a “Food Safe” finish to the bowl.
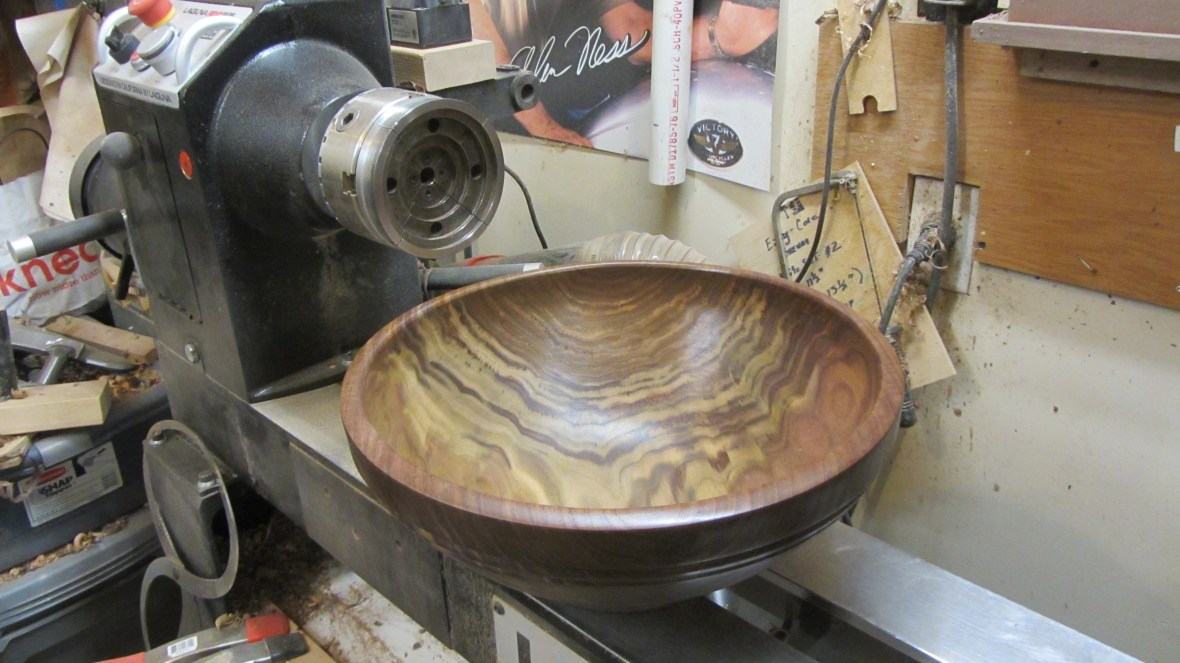
Here it is, all finished.

Signed and numbered, the bowl is complete.
Here I have mounted the first core on the lathe and am removing an additional bowl blank.
This core is now removed and will be mounted later. As it turned out that core was large enough to take one more core so the original half log has yielded four bowls.


